(Admin) Adding/Editing ID Key Characters & States
This page describes how to add or edit the characters and states that are available in Identification Keys. To edit which character states are applied to a given taxon, visit the Editing ID Key States for Taxa page.
A user must have Identification Keys Administrator access to edit character and state values in a portal, since these edits affect the entire portal, not just a single checklist.
Structure of Identification Keys
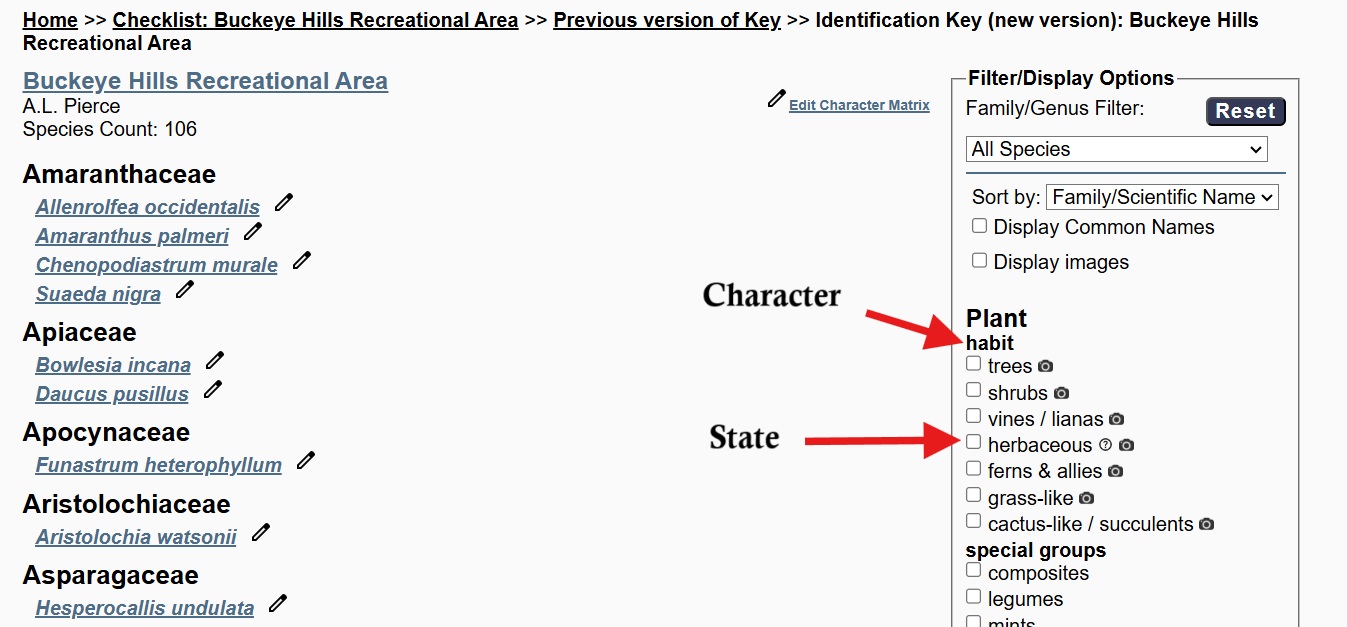
Identification keys are built from a list of characters that each have multiple states.
Characters are categories of traits that are shared across all members of a taxon (e.g., “average wing length” or “leaf phyllotaxy”).
A state is the specific trait that is shared within the taxon (e.g., “3-15 mm” or “opposite”, for each of the characters above). At this time, states can only be categorical (i.e., you cannot enter a number value).
Setting up identification keys in a portal requires the administrator to import or add character and state values (see ID Keys Administrator instructions here. Then, an identification keys editor can assign certain state values to certain taxa (see ID Keys Editor Instructions here.
Adding/Editing Characters
Changes made to characters and character states affect all identification keys and checklists across the portal. Please coordinate changes with other ID Key Administrators, when possible.
Navigate to the Character Management page by visiting the page’s sitemap (“portal domain”/sitemap.php) or going directly to the page (“portal domain”/ident/admin/index.php).
Characters may be grouped together, for example, by anatomy or other similarities, as shown in the example from SEINet below.
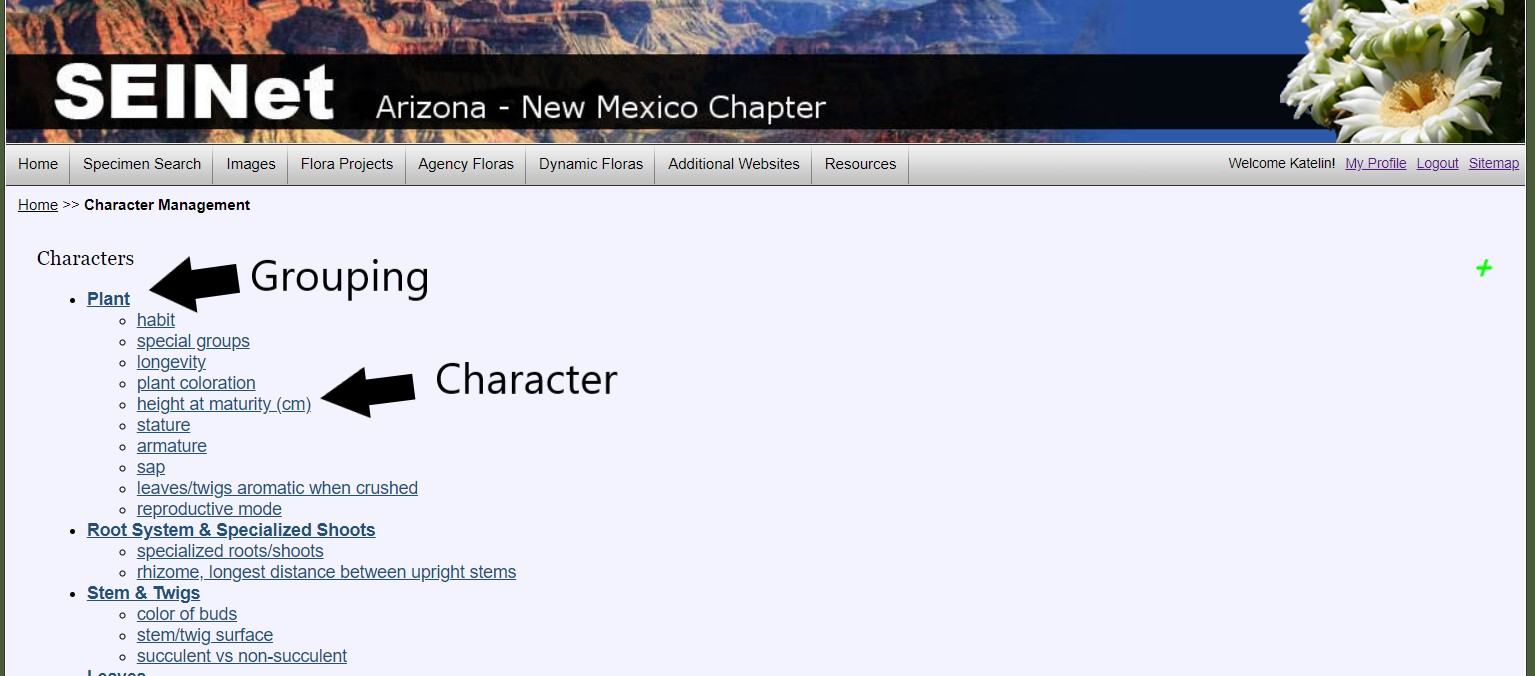
Clicking on the name of a grouping will collapse or expand the characters underneath that grouping.
To add a new character, click the green plus sign at the top right corner of the page. You will be prompted to add some information that will later be found in the Details tab of the character editor (see below).
To edit a character, click on the name of the character.
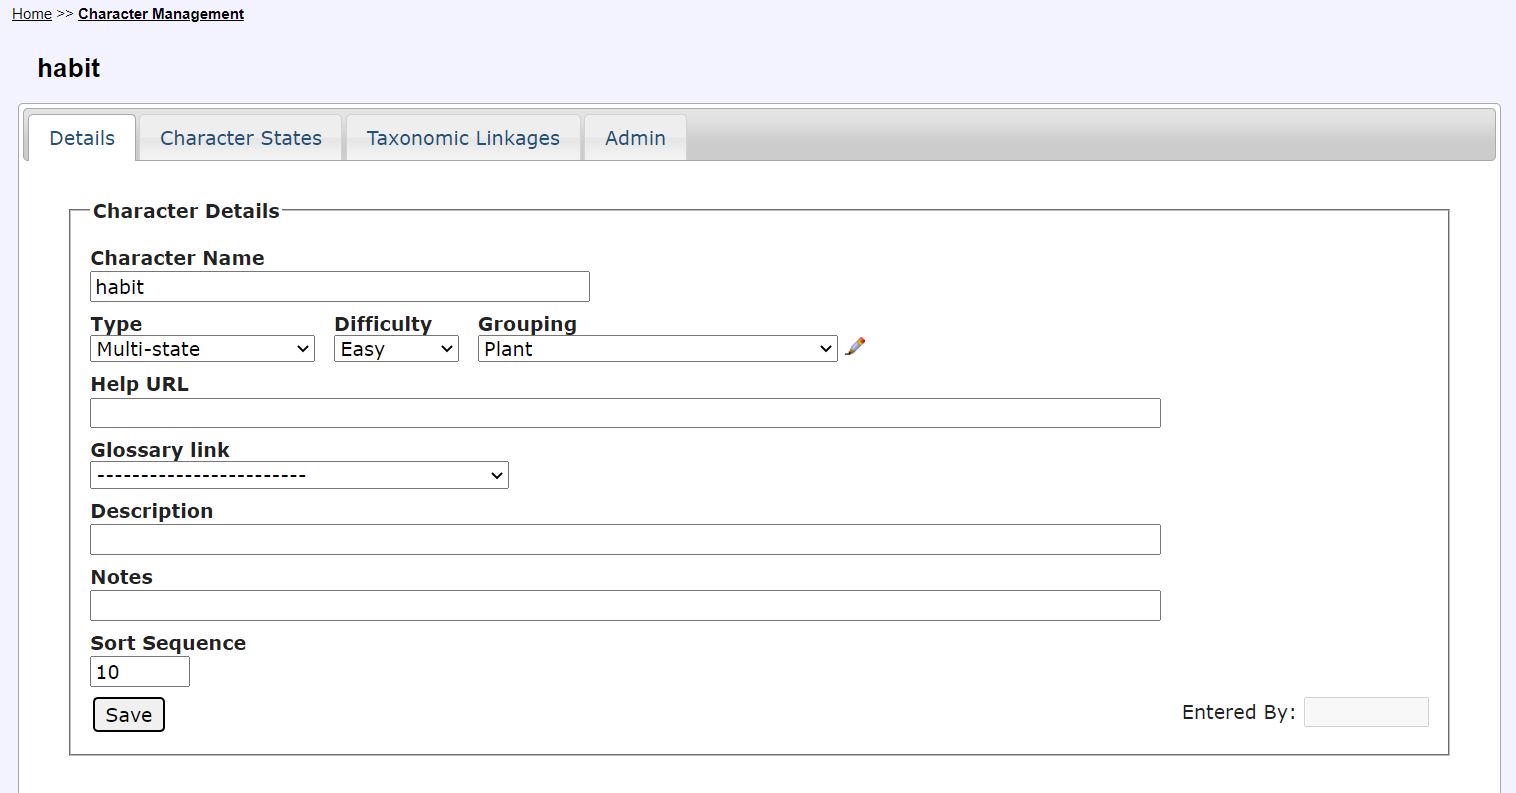
On the first Details tab, you can change the name of the character, change the type of character (if available), change the grouping (that showed on the previous page), add a URL to any resources that can help a user understand the character, link the character to the glossary, add notes, or change the sort order of the character (i.e., where it shows up relative to other characters in the identification key).
You can also decide whether to show or hide characters by selecting “Hidden” from the Difficulty dropdown menu.
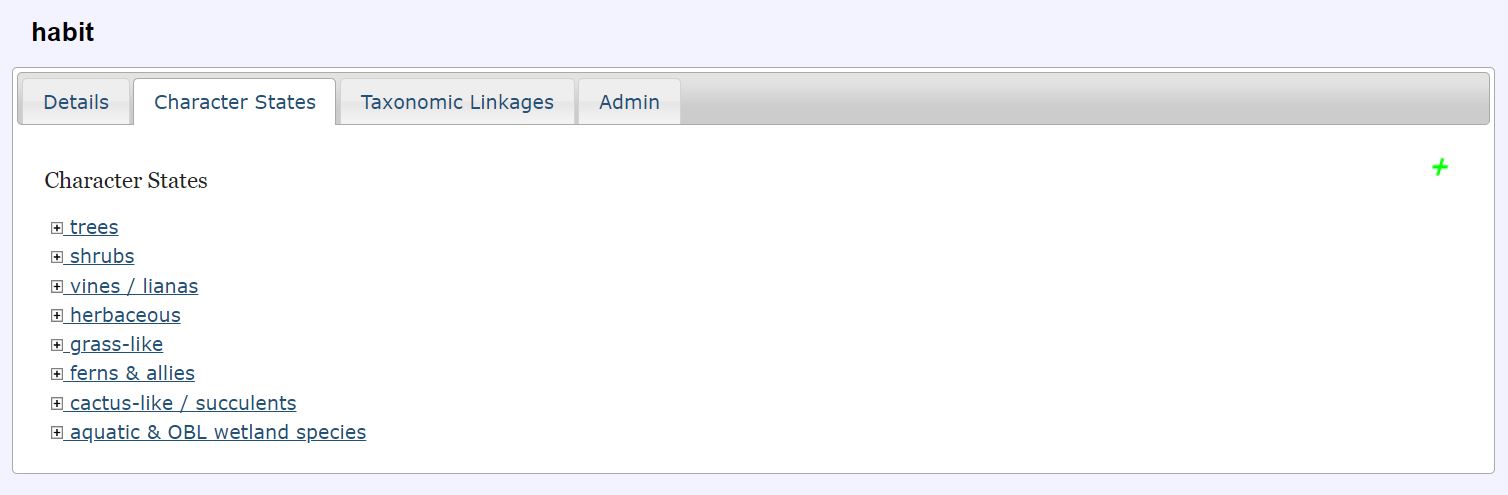
In the Character States tab, you can add or edit the states that belong to the character. Remember that character states are the options that the user can choose from when trying to identify a sample. The character states are what the ID Key Editor will choose between when assigning a state to a certain taxon. See below for instructions on editing character states.
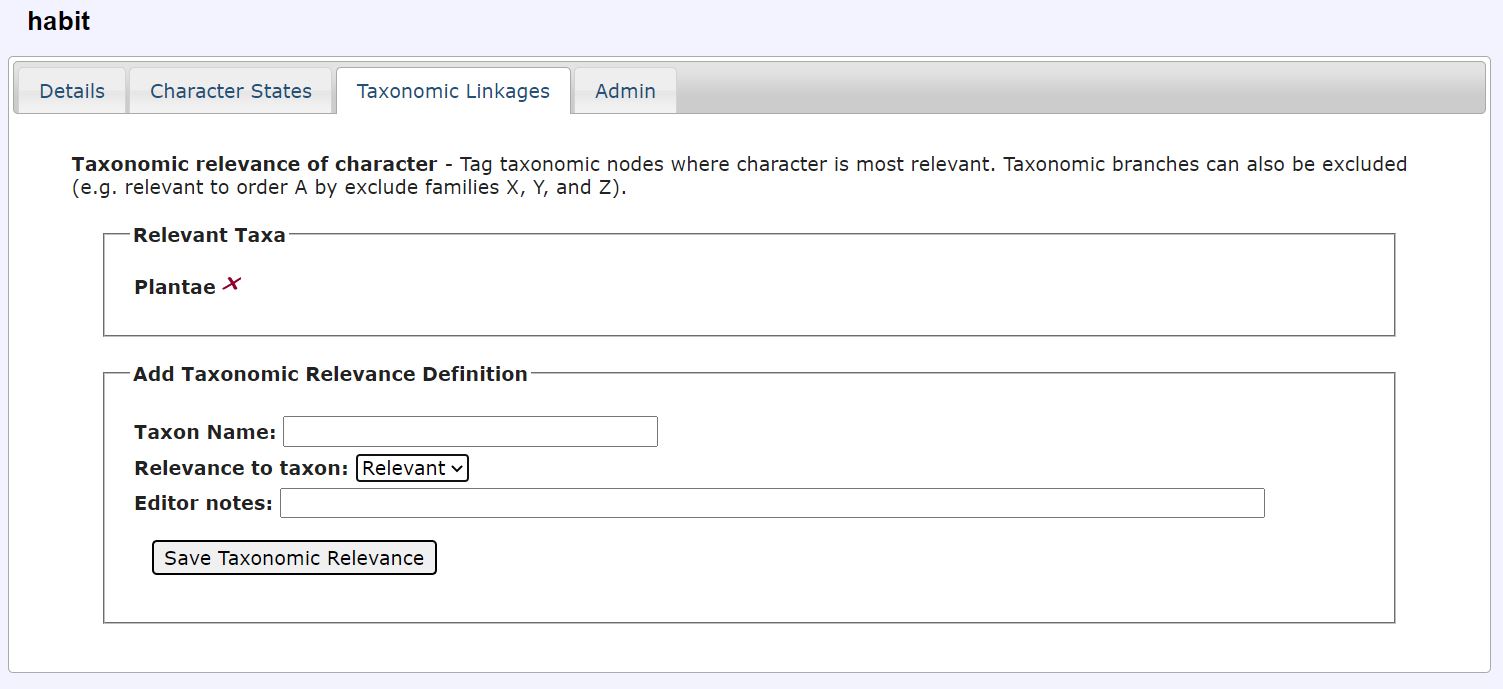
In the Taxonomic Linkages tab, you can apply the character to the highest phylogenetic/taxonomic node to which a character belongs. For example, if a character applies to all plants, you would apply the character to the entire kingdom Plantae. Taxonomic branches can also be excluded. For example, if a character was relevant to all families in an order except one, you could set the “Relevance to taxon” = “Relevant” for the order, then add the excluded family with “Relevance to taxon” = “Exclude”.
The final “Admin” tab allows you to delete the character. All character states must be removed from the character before it can be deleted.
Adding/Editing Character States
From the Character Management page, click on the name of the character that belongs to the state you wish to edit. Navigate to the Character States tab. To edit an existing character state, click on the name of the character state. In the Character State Details box, you can edit the state name, the description, the related glossary term, the notes, and the sort sequence of the character. Scroll down to the Illustration box to add an illustration of the character state. Scroll down to the Delete Character State box to evaluate the state for deletion. All images, languages, and descriptions to the character state must be unlinked before a state can be deleted.
To add a new character state, click the green plus sign at the top right side of the page (circled below).

Cite this page:
Katie Pearson. (Admin) Adding/Editing ID Key Characters & States. In: Symbiota Support Hub (2025). Symbiota Documentation. https://biokic.github.io/symbiota-docs/user/idkeys/admin/. Created on 31 Oct 2022, last edited on 11 Dec 2024.