Specimen Packet Printing
This guide describes the use of the label printing tool in Symbiota to print lichen and bryophyte packets: full sheets of paper with a 3”x5” label printed on the bottom third of the sheet. For instructions on folding packets, see this guide.
Using the Default Packet-Printing Profile
The default packet label looks like this:

- To print a packet, navigate to the Data Editor Control Panel (My Profile > Occurrence Management > name of collection).
- Click Print Specimen Labels from the Data Editor Control Panel.
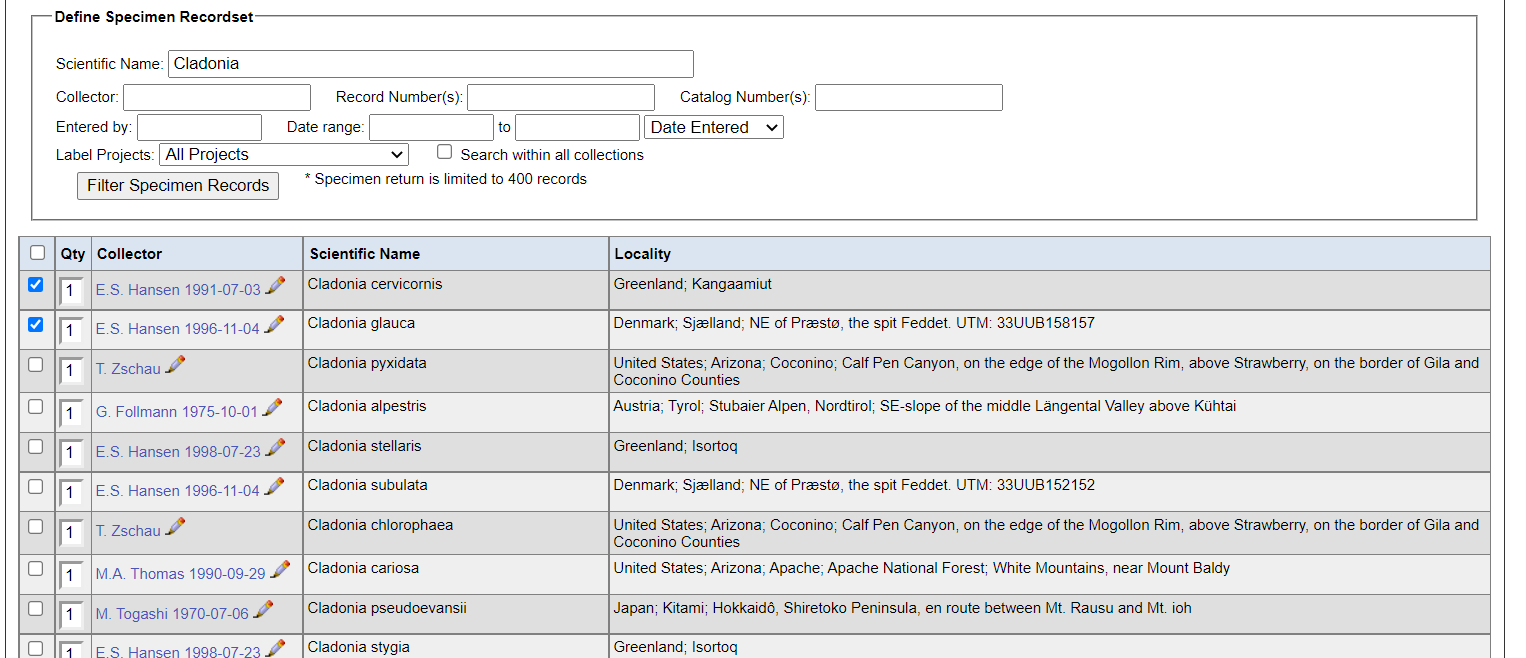
- Enter search terms into the Define Specimen Recordset form to search for the specimens for which you would like to print packets. Then click the Filter Specimen Records button.
- Check the boxes next to the specimens for which you would like to print packets, or click the checkbox at the top of the checkboxes column to select all the records.
- Scroll down to the Label Printing form at the bottom of the page.
- From the Label Profiles dropdown menu, select Generic Lichen Packet.
- From here, you can customize your packet in a limited number of ways:
- To change the heading prefix: edit the text in the Heading Prefix field
- To change the auto-generated middle section of the heading by selecting a button from the Heading Mid-Section options.
- To change the end of the heading: edit the text in the Heading Suffix field
- To change the name of your collection that will show up on top of your barcode: edit the text in the Label Footer field
- NOTE: There is no actual “Footer” on lichen and bryophyte packets. Instead, the label footer is shown atop the printed barcode. Leave this blank if you would not like any text on top of your barcode OR if you are not including a barcode on your packet
- To show the authorship of the species before the infraspecific epithet, if you are printing taxa with infraspecific epithets: check the box next to “Print species authors for infraspecific taxa”
- You do NOT need to check the box next to Print Catalog Numbers. The catalog number will be displayed underneath the barcode if “Include barcode of Catalog Number” is checked.
- Clicking “Print only Barcode” will print a barcode only with no packet or other data
- Note that Other Catalog Numbers are not listed on packets by default. To add this field, create a custom label packet profile as described in the next section and include Other Catalog Numbers in your list of printed fields.
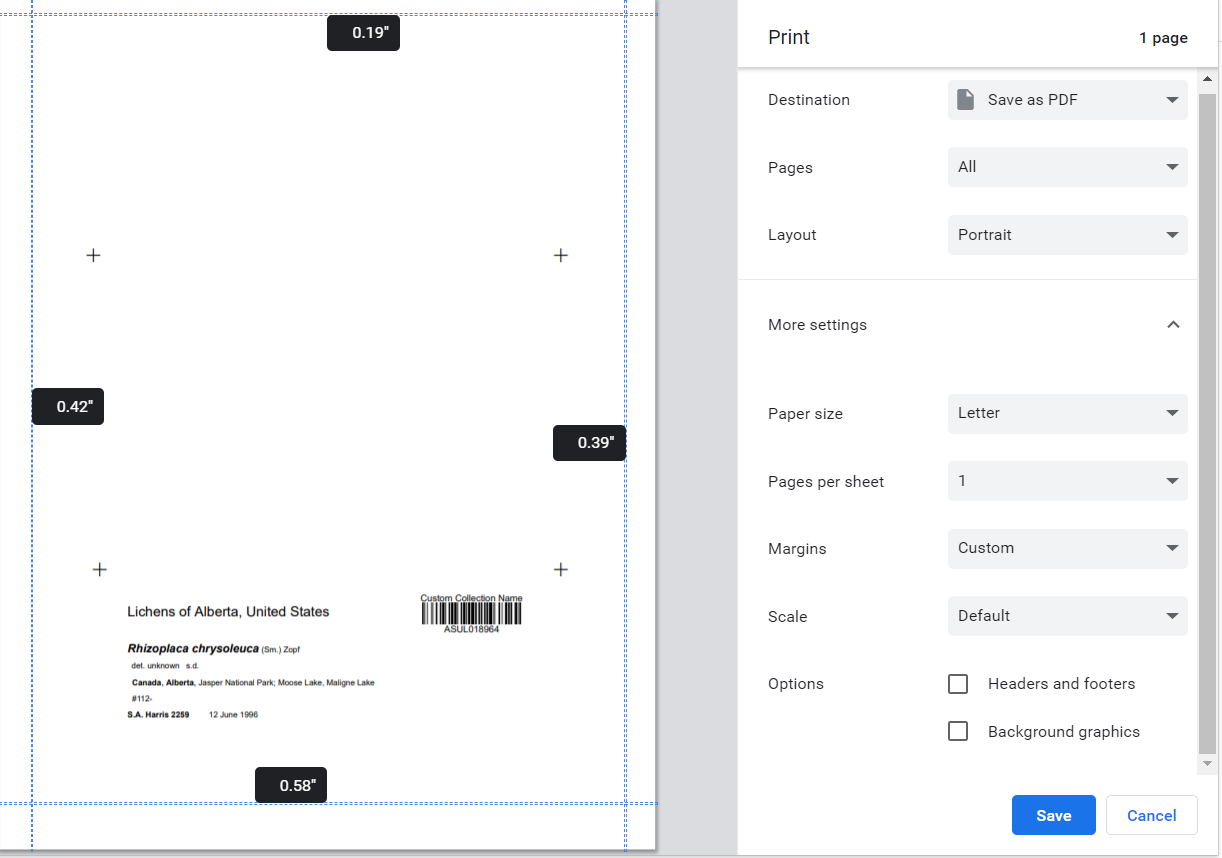
- When printing your packet, make sure to print at 100% scale. Use Print Preview and adjust the margins as necessary so that the packet is centered and the correct size. If printing from Google Chrome, click the More Settings option and uncheck the Headers and footers box.
Customizing Your Own Packet-Printing Profile
- Complete steps 1-7 as above.
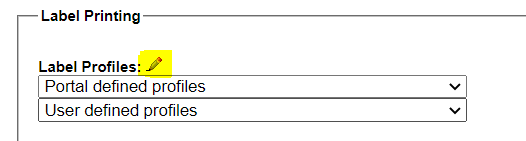
- Click the pencil icon next to Label Profiles.
- Find the profile labeled Generic Lichen Packet.
- To customize the packet-printing profile for your own personal use, click the Select Target option under Generic Lichen Packet and select “User Profile”. To customize the 5. packet-printing profile for your entire collection (i.e., other people will also be able to use this profile), select “Collection Profile” from the dropdown menu.
- Click the Clone Profile button under Generic Lichen Packet. When the page reloads, you will see a new profile under your collection profiles or user profiles (depending on what you selected in step 5 above).
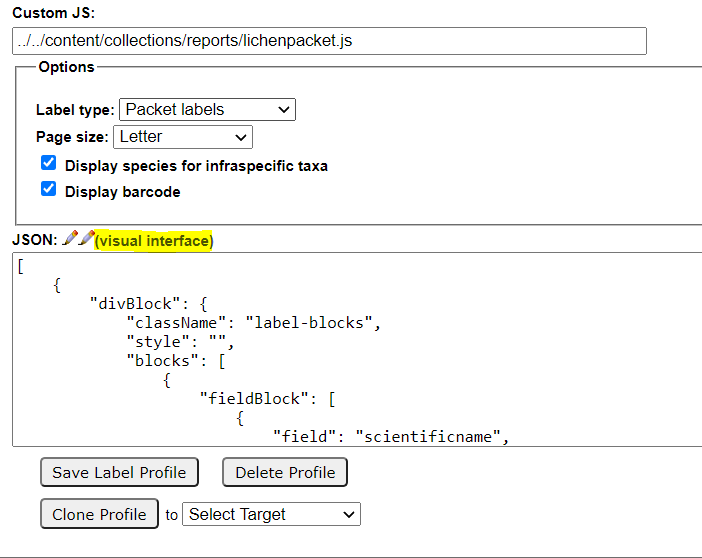
- Click the pencil icon next to the title of the new, cloned label profile to edit the profile. Do NOT edit the Default CSS, Custom CSS, and Custom JS fields, but you can edit the title, prefix, etc. as above.
- To remove the barcode from your packet, uncheck the box next to Display barcode. If you do this, make sure to delete “Custom Collection Name” from the Footer text field.
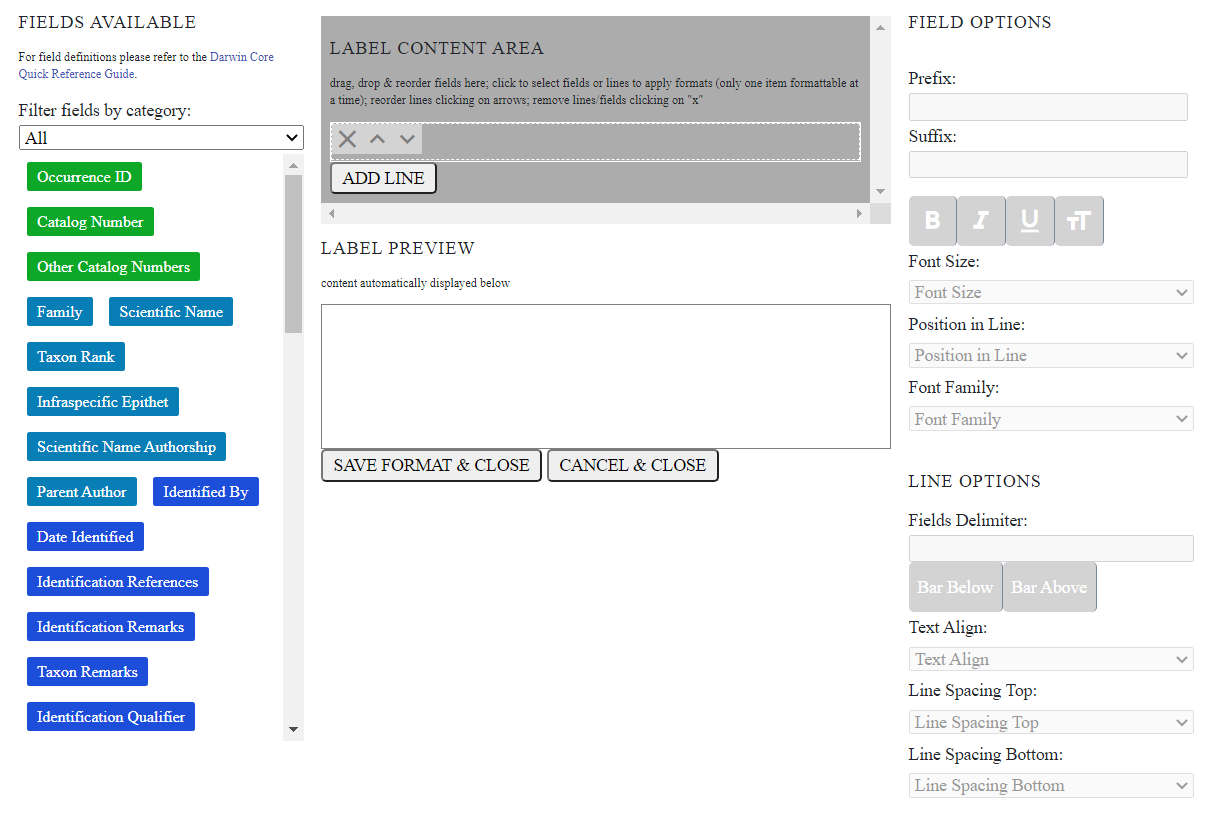
- To edit which fields are listed on your packet and/or the orientation of those fields, scroll down to the JSON field and click “visual interface”.
- In the bottom center of the screen, you will see a preview of the label that you are customizing.
- The left-hand Fields Available column contains a bank of fields that you can draw from and include on your label
- The grey Label Content Area in the center is where you can place and move the fields that you have selected from the Fields Available column for your label
- The Field Options on the top right can be used to edit the prefix, suffix, font size, position, and font family of a field after selecting a field in the Label Content Area.
- The Line Options on the bottom right can be used to select a delimiter between fields on the same line and edit the text alignment and spacing after selecting a line in the Label Content Area.
- To add a new line, scroll to the bottom of the Label Content Area and click the ADD LINE button. Beware of adding additional lines to the Label Content Area! If you have too much content, it may not fit on the packet label.
- Customize your label by adding fields (drag and drop fields from the Field Available column into the Label Content Area), removing fields (click the x icon next to the field in the Label Content Area), editing fields (using Field Options), and editing lines (using Line Options) as desired.
- Click the SAVE FORMAT & CLOSE button.
- Follow steps 1-7 of Using the Default Packet-Printing Profile.
- From the Label Profiles field, select your new label printing format from the dropdown list.
- Click the Print in Browser button.
- If your new label profile does not meet your expectations, return to the label profile editor (steps 7-9 above) and edit the profile as desired.
- For small edits that are specific to the specimen data you are working with (e.g., special character issues or spacing issues), you can also edit the label in the print preview. After clicking Print in Browser as above, click the Edit Labels Content button in the top left corner of your screen. From here, you can make small adjustments to the label(s) that you currently intend to print. Note that these changes do not change the label profile that you have created.
Cite this page:
Katie Pearson, Laura Rocha Prado. Specimen Packet Printing. In: Symbiota Support Hub (2025). Symbiota Documentation. https://biokic.github.io/symbiota-docs/editor/label/packet/. Created on 29 Sep 2021.