Label Customization and Printing
This page describes how to access and use the label printing functions in a Symbiota portal.
For instructions on printing specimen packets, see this page
Printing Specimen Labels
To print specimen labels, navigate to the Data Editor Control Panel (My Profile > Occurrence Management > name of collection) and click “Print Labels/Annotations.” Search for the desired specimens by entering search terms in one or many of the available fields in the “Define Specimen Recordset” box and clicking “Filter Specimen Records.” Select all the specimens for which you want to print labels by checking or unchecking the boxes in the leftmost column of the table. Use the “Select/Deselect all Specimens” box to check or uncheck all the boxes as necessary.

In the Label Printing box, select the name of the “Label Profile” that you wish to apply to your printed labels. The label profile will specify which fields are printed and the aesthetics of the label. Default (simple) profiles can be found in the “Portal defined profiles” list, and you can select your own saved profile from the “User defined profiles” list. Instructions for defining a label profile are described in the next section. After selecting a profile, you can then enter a desired heading (e.g., “Robert F. Hoover Herbarium (OBI)”, heading mid-section (e.g., state or family), heading suffix (any additional text information), and label footer (e.g., the name of the project for which the specimen was collected) for all labels to be printed. You can also select from a number of other options in the “Label Printing” box including whether you want to print the specimen barcode.
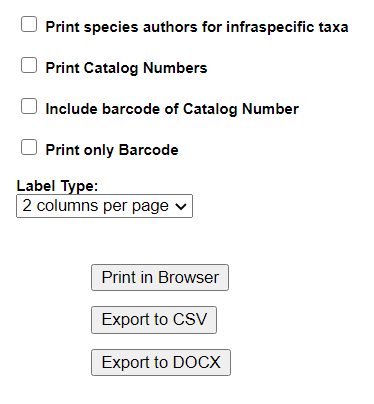
Once you have selected your desired options, you can print the labels directly from your browser, export the specimen data to a CSV file (similar to an Excel file, this format can be used with mail merge to produce labels), or export the labels to a Word document (DOCX file) by clicking the appropriate button. Note that currently, Word (DOCX) output only generates the old static label format (the “label profile” settings will not be applied). If you click “Print in Browser”, you can manually edit the label content by clicking the Edit Labels Content button in the top right corner.
Customize Label Format
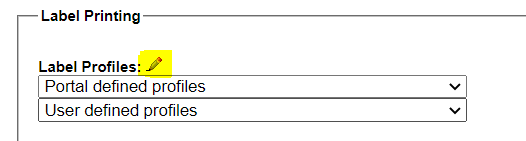
To create a new label profile that will apply custom formatting to your printed labels, click the pencil icon to the right of Label Profiles (highlighted below).
Then click the green plus sign in the User Profiles box. Enter the title of the user profile and any desired header and footer information. Select the desired options from the Options box.
To further customize the label, click “visual interface” to the right of the “JSON” header. The resulting page will allow you to tailor your label with more detail (see next screenshot).
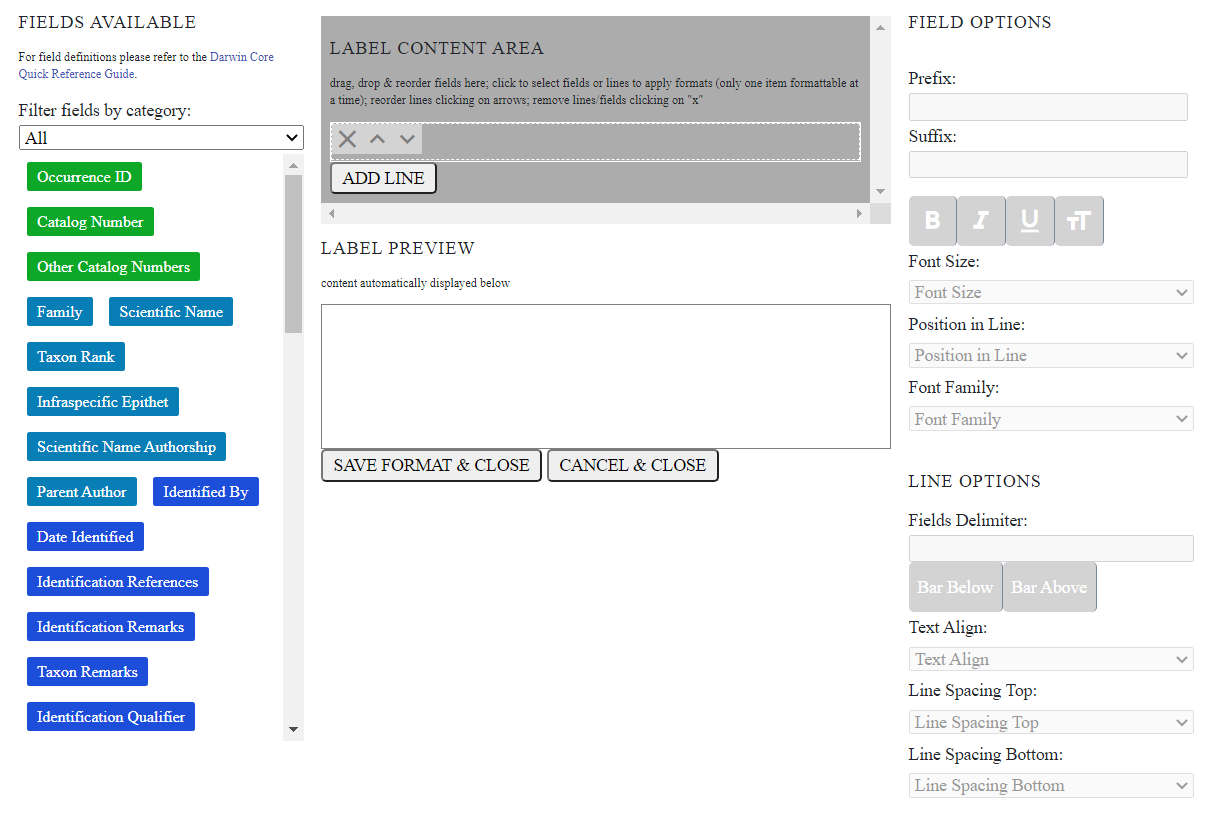
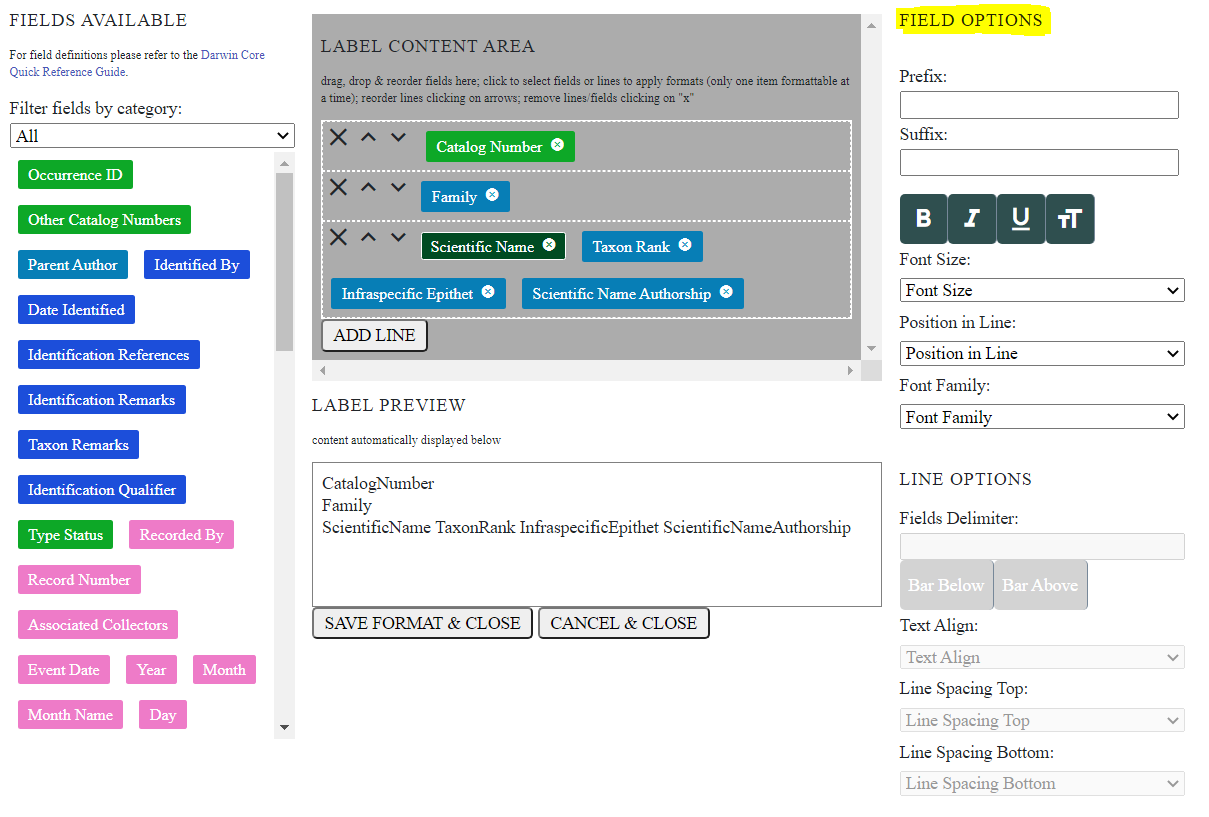
The format of your label is represented in the grey “Label Content Area” box. This is where you will build the label format. To add fields to your label, drag and drop field names from the left hand list of buttons into the “Label Content Area”. As you do this, a preview of the label format will appear in the Label Preview box. Note that you can add as many lines as desired in the Label Content Area by clicking the Add Line button. By clicking on one of the fields that you have added to the Label Content Area, you can also add a prefix or suffix, change the font format, change the size, change the font, and move the position of the field by altering these elements under the Field Options section (highlighted in screenshot below). You can also change the options for an entire line by clicking the line in the Label Content Area (it will turn green) and then editing the options under the Line Options section.
Cite this page:
Katie Pearson. Label Customization and Printing. In: Symbiota Support Hub (2025). Symbiota Documentation. https://biokic.github.io/symbiota-docs/editor/label/. Created on 22 Nov 2021.