Deleting Images or Transferring Between Records
This page describes how to transfer images to other records in your collection or how to delete images associated with a record.
Transferring an Image to Another Record
- Navigate to the occurrence record that has the image you would like to transfer. (e.g., My Profile > Occurrence Management > name of collection > Edit Existing Occurrence Records > use record search form to find specific occurrence).
- Open the occurrence record in the Occurrence Editor (see screenshot below).
- Click the Images tab.
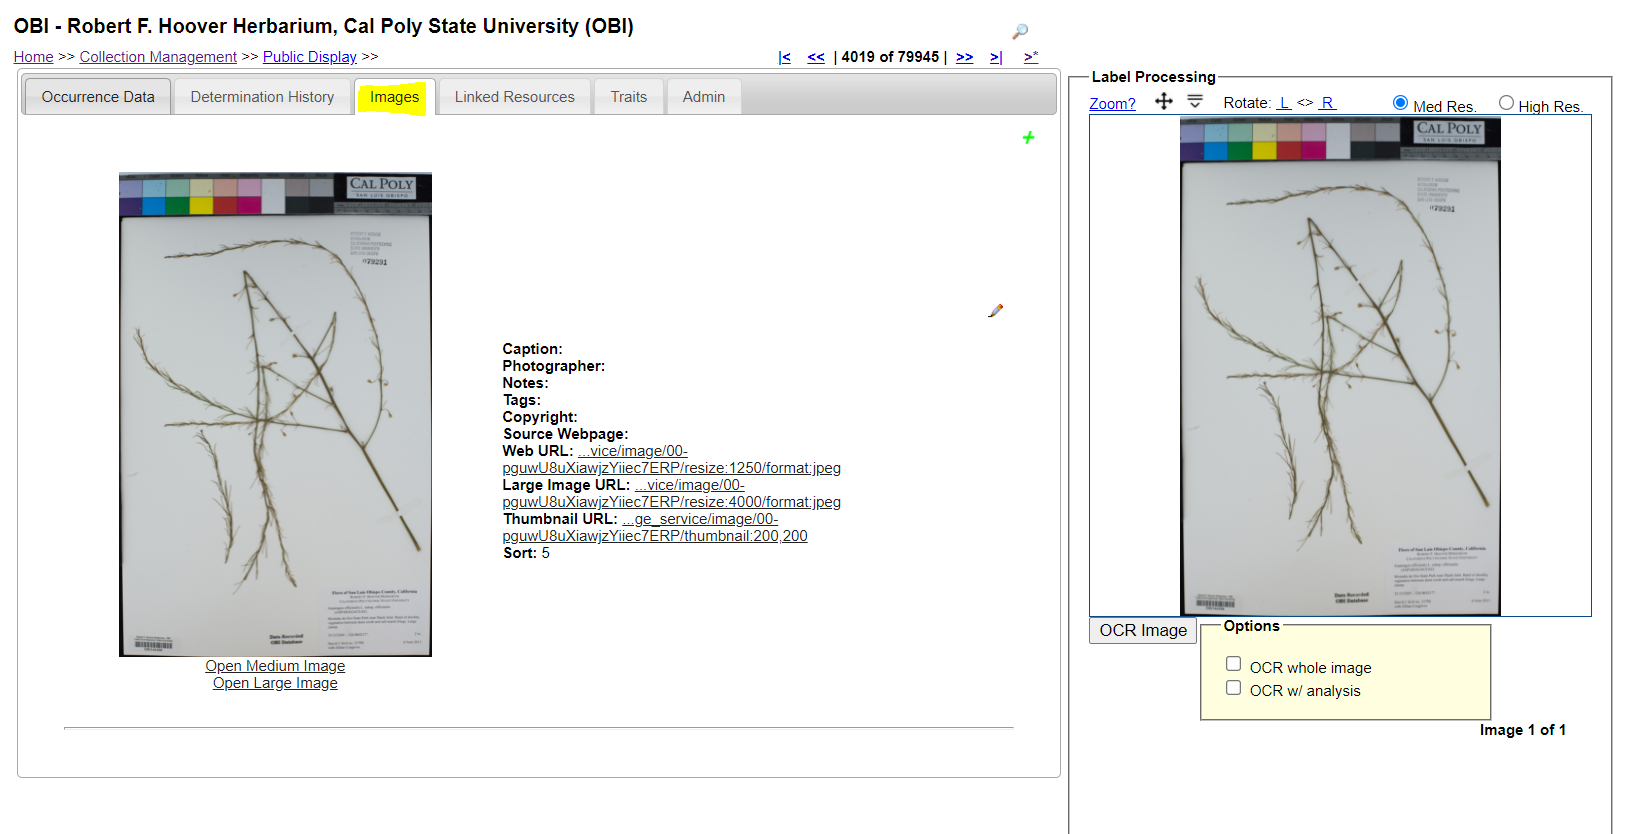
- Click the pencil icon to the right of the image you would like to transfer.
- If you would like to transfer the image to a brand new record, rather than a record that already exists, scroll down to the box labeled Link to a New Blank Occurrence Record within Collection and click the “Link to New Occurrence” button.
- The SymbiotaID number associated with the new record you have created with the image will be displayed at the top of the page after you click this button. To navigate to that record, click the blue SymbiotaID number.
- If you would like to transfer the image to a record that already exists, scroll down to the box labeled Remap to Another Specimen.
- You can either enter the SymbiotaID number for the record (if you have it on hand) or use the Occurrence Linking Aid (where you can search by catalog number, collector, and/or collector number). To do the latter, click “Open Occurrence Linking Aid” to the right of the field.
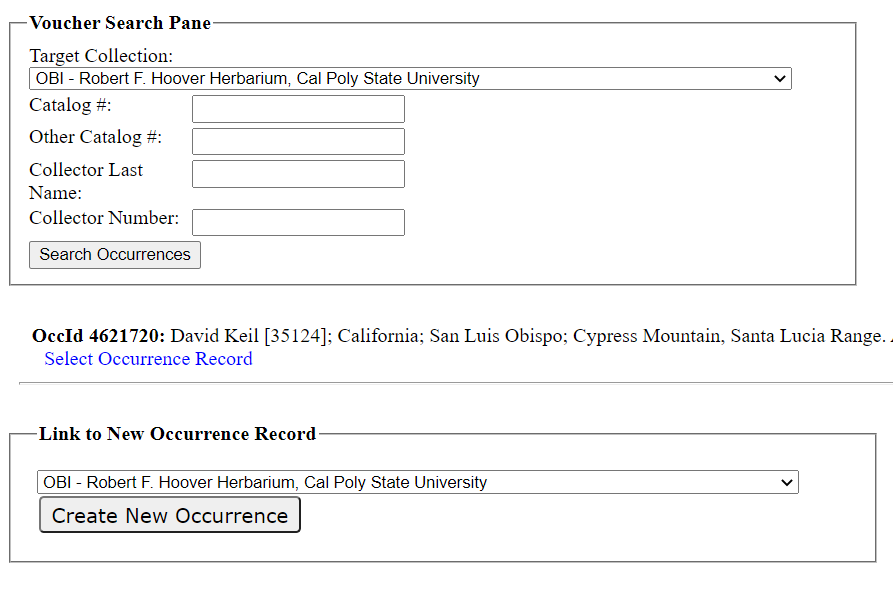
- In the pop-up window, enter the search terms you would like to use to find the occurrence to which you would like to link the image. You can include several terms in this search concurrently. Then click the Search Occurrences button to see the search results.
- If there are results of your search, they will be listed below the Voucher Search Pane as shown below. To select one of the listed occurrences for linking, click Select Occurrence Record. This will close the window and import that record’s SymbiotaID number into the Remap to Another Specimen panel.
- If you don’t find the record you are looking for, try using different search terms. If the record does not exist, you can click the Create New Occurrence button to create a brand new occurrence for the image.
- Back on the images tab of the Occurrence Editor page, click the Remap Image button.
Any data associated with that image (e.g., its catalog number) will NOT be transferred along with the image. You will need to copy over this information in another way, if applicable.
Deleting an Image
- Complete steps 1-4 in the instructions above.
- Scroll down to the box labeled Delete Image.
- If your images are stored on ASU servers (i.e., you upload them to Dropbox or otherwise transfer them to ASU), check the “Remove image from server” box. Otherwise, leave this box unchecked
- If your images are stored on another server, such as CyVerse, leave the “Remove image from server” box unchecked.
Cite this page:
Katie Pearson. Deleting Images or Transferring Between Records. In: Symbiota Support Hub (2025). Symbiota Documentation. https://biokic.github.io/symbiota-docs/editor/images/delete/. Created on 28 Nov 2021.