Adding Skeletal Records
This page describes how to use the Skeletal Data Entry tool to quickly add skeletal data to the portal, especially during the process of imaging. It can also be used to create a quick inventory of a collection.
A video overview of using this tool is shown below:
This tool can be used to collect basic collection information, for example, during the imaging process. The imaging team can enter the basic collection information shared by the batch of specimens being processed, and each time they scan a barcode into the catalog number field, a record is added to the system with these skeletal data. Complete data can be entered by clicking on the catalog number, but a recommended workflow would be to process the full label data directly from the image of the specimen label at a later stage.
- To add a skeletal record, navigate to the Add Skeletal Records tool via the Data Editor Control Panel (My Profile > Occurrence Management > name of collection). You will see a page like that below.
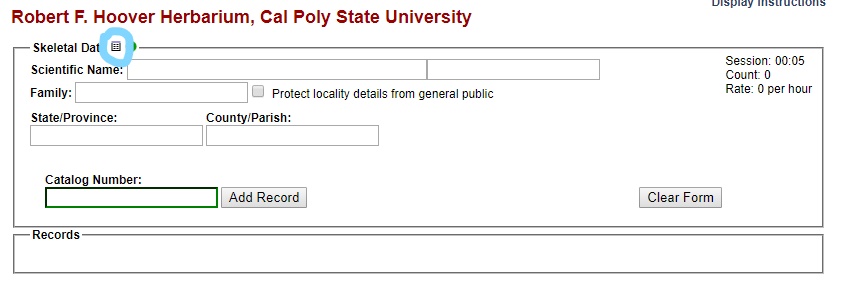
- To control which fields are shown on the skeletal record entry form, click the Display Option symbol (a small, grey table) located above the Scientific Name field (circled above).
- In the dropdown menu of options, check or uncheck the boxes next to the desired fields to be shown. The following fields are commonly recommended for skeletal data entry: Scientific Name, Family, State/Province, and County/Parish.
- Select the preferred action that the data entry module will use when a record already exists for a scanned catalog (barcode) number.
Even if you choose the “Append values to existing records” option, skeletal data will not copy over existing field values.
- If using the fields recommended above, enter the scientific name by beginning to type the name from the specimen label, then selecting the appropriate name from the dropdown list.
- If desired and/or possible (given the data provided on the specimen sheet), enter the State/Province and the County/Parish of the specimen if the specimen was collected in the U.S. or Canada. The authorship and family of the name of the taxon will automatically populate if the taxon is in the portal’s taxon table.
- Enter the barcode number into the Catalog Number field by clicking inside the Catalog Number field and scanning the barcode of the specimen.
- Once all fields are filled, click Add Record.
Important: After Add Record is clicked, the data in the Skeletal Data box fields will NOT be cleared. Only the Catalog Number field will be cleared. This is designed to facilitate rapid skeletal data entry for folders of similar specimens (i.e., specimens of the same species). Close attention should be paid to these fields when transitioning between species or specimen localities. It is easy to forget to change the data in these fields.
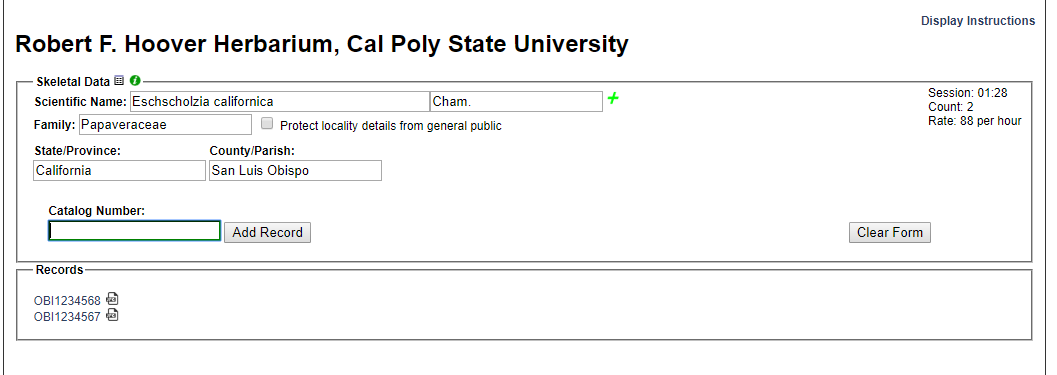
In the event that a user needs to edit a previously entered skeletal record, you can click the catalog number of the record as it is listed in the Records box below the Skeletal Data box. Note that this list will disappear if the page is refreshed. You can also add an image to the record from this page by clicking the icon to the right of the listed catalog number.
Further clarification about the Skeletal Data Entry tool can be found here: SERNEC Skeletal Data Entry Guide
Cite this page:
Ed Gilbert, Katie Pearson. Adding Skeletal Records. In: Symbiota Support Hub (2025). Symbiota Documentation. https://biokic.github.io/symbiota-docs/editor/add/skeletal/. Created on 22 Oct 2021.